Users and groups setting (T)

If you are in the Users Manager role you are allowed to manage users and groups in your organization. First, open the Engage Process Admin Center tool by pressing the application launcher button ApplicationLauncher on the top-right of the window and then select Admin Center (you can login directly to it using the link https://admincenter.engageprocess.com).. Select the Users & group tab there.


Using Users & group settings you can

create Engage Process Modeler users and assigning licenses, roles and groups to them
delete a user
create groups and assign users and roles to them
delete groups
copy authorization of one user/group to another one.
change password of a user
block a user from signing-in


Press the Users & Groups button in the Manage group of the Collaboration tab. A new browser tab will be created with the Engage Process Admin Center tool and will be open on the Users & groups tab. If you miss this button then this means that you are not in the User manager role


UsersGroups

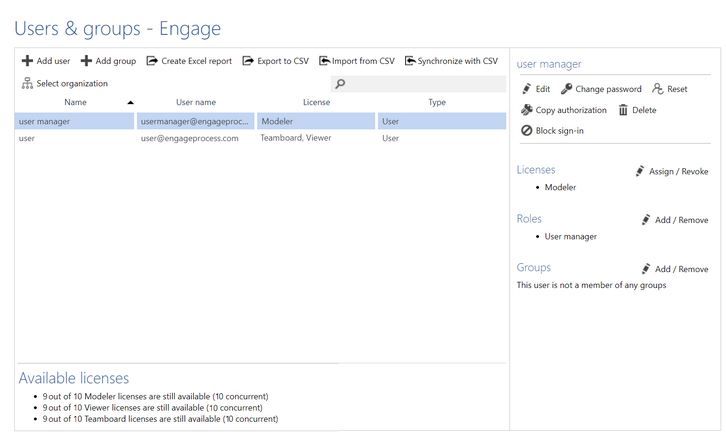
Press Add user to add new user.

Press Add group to add new group.

Press Create Excel report to export user list to the MS Excel file.

Press Export to CSV to export group and user list to a comma separated file.

Press Import from CSV to add new users and groups from a CSV file.

Press Synchronize with CSV to import the whole list of users from a CSV file and synchronize it with the current set of users. So, the users not present on the file will be deleted.

Type a text behind the magnifying loop to filter the current list of users and groups.


Select an existing user and press

the Edit button on the right hand side to change his name or login name (the login name must be unique within the whole Engage environment) or to not allow the user to change his/her password.
the Change password button on the right hand side to type his new password. The password must have at least 8 characters (or more if it was decided differently in the Security settings) and it must contain at least one digit, one lowercase letter, one uppercase letter and one non-alphanumeric character. You cannot change password if your organization is set up as Single Sign On (SSO).
the Copy authorization button on the right hand side to copy the selected user authorization to another user/group.
the Delete button on the right hand side to delete this user. See also Deleting authorized users/groups for deleting in Suite edition.
the Block sign-in button on the right hand side to block the user.
the Add/Remove button  close to Licenses to add/remove licenses to/from the user (you can only add a licence if it is available for your organization; the number of available licenses is shown at the bottom of the pane).
the Add/Remove button  close to Roles to add/remove roles to/from the user.
the Add/Remove button  close to Groups to add/remove groups to/from the user.


If you select multiple users then you can Change password, Copy authorization for them or Delete all of them in one go. You can also press the Assign licenses button to assign licenses to all selected users. This, however, is only possible if the number of selected users does not exceed  the number of available licenses..


UsersGroups2


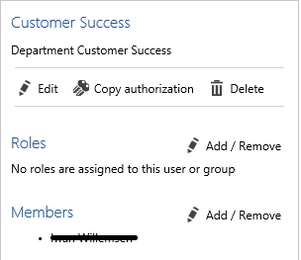
Select an existing group and press

the Edit button on the right hand side to change its name or description.
the Delete button on the right hand side to delete this group. See also Deleting authorized users/groups for deleting in Suite edition.
the Copy authorization button on the right hand side to copy the selected group authorization to another user/group.
the Add/Remove button close to Members to add/remove group's members.
the Add/Remove button close to Roles to add/remove roles to/from the group.


If you select multiple groups then you can Copy authorization for them or Delete all of them in one go.


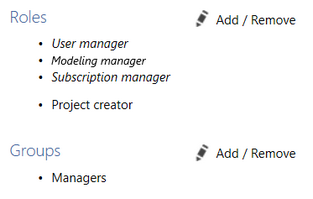
Roles assigned to a group are also assigned to all its members. If you select a member of a group the roles inherited from the group will be listed in italic.


UsersGroups3