Configuring work items


|
Configuring work items |
|
|
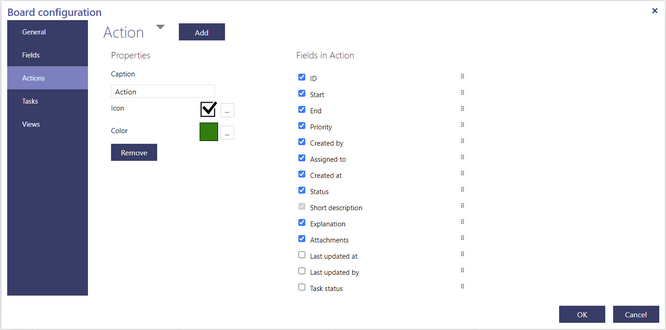
In order to configure teamboard work items press the
The name of the selected work item type appears on the top left of the page. You can change it by changing the text in the Caption text box. Press the three dot button after Icon to change the icon identifying this type of work item. Press the three dot button after Color to change the color identifying this type of work item. The list on the right hand side shows all fields defined on the Fields page. Check those fields that you want to include into this type of work items. To change the order of the fields drag the corresponding six dots button up or down. The order specified here will be used in the edit dialog for this type of work item. To configure another work item type press a small triangle on the top and select this type from the list.
Press the Add button to add a new work item type. Type the name of the work item type and press OK. The new type will be added to the list and automatically selected, so you can start configuring it. If the teamboard does not contain any work item of the selected type you can delete such a type without any consequences. In this case, the Remove button appears. In particular, it always appears for the new work item type. Press the Remove button to remove the selected work item type from the list of available work item types.
|