Cross reference report wizard


|
Cross reference report wizard |
|
|
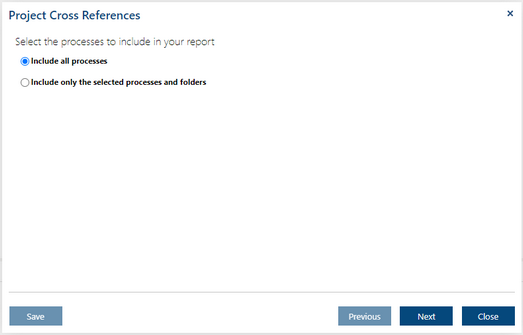
When you press one of the report buttons in the Project group then a wizard is started that helps to select the subset of processes that should be included in the report.
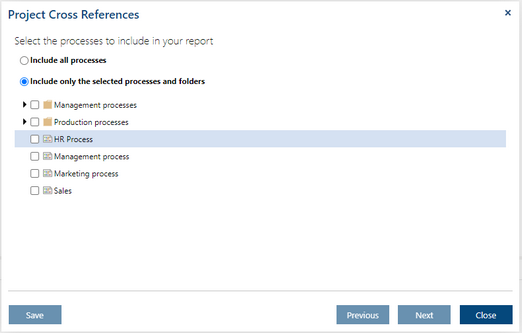
If you want to create a report over all project's processes select Include all processes and press the Next button. Otherwise, select Include only selected processes and folders. The tree of all processes and folders appears:
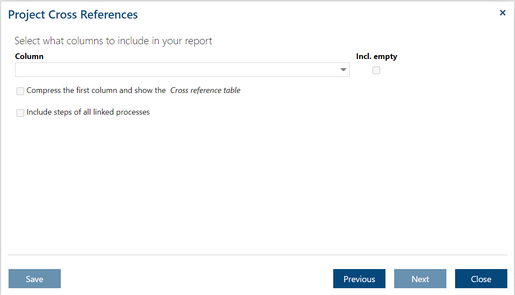
You can select here both individual processes inside folders (e.g., Sales) and the whole folders (e.g., Production processes). Select the required processes and/or folders and press the Next button. In the dialog that appears, you can define columns of your report:
Press the Close button if you want to stop the wizard. Press the Previous button if you want to change the process selection.
If you initially have pressed one of the cross reference shortcut buttons then the proper columns will be already selected for you. If not, you can follow the instruction on how to select a cross reference report columns.
If you press one of the report buttons in the Process group then the wizard will skip the processes selection part because the report will be created for the currently selected process.
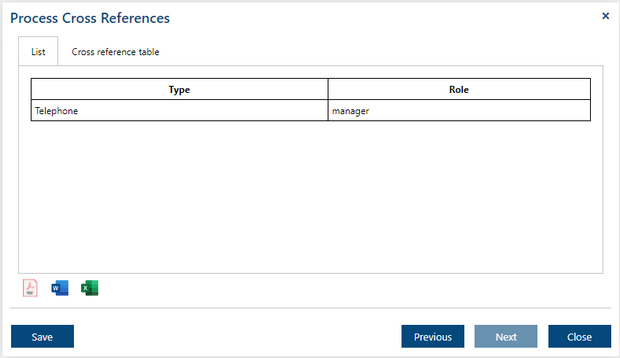
After selecting columns you should press the Next button to get the report. It will appear in the last page of the wizard.
Press the PDF, MS Word or MS Excel button to export the report. Press Cross reference table to see the report in a form of a cross reference table (available only if exactly two columns were selected). You can still press the Previous button here if you want, for example, to change the order of columns or to add some new ones. Then, after pressing the Next button the report will be recalculated.
|