Images


|
Images |
|
|
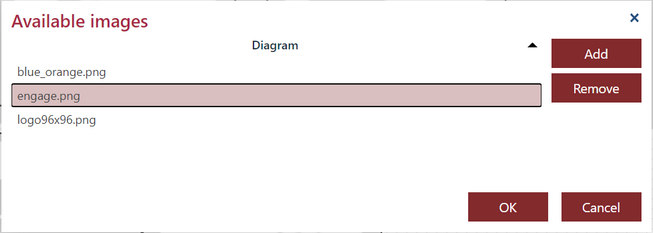
An image is a rectangle shape filled with a picture. To create an image shape press the Image button in the Insert group of the Diagram tab. The following dialog appears:
The list shown in the Available images dialog is the common list of images added by all users of your organization (both modelers and publishers). If you miss an image you can add one and it will be available for all other users. Press the Add button to open the Select file dialog in order to upload one of your png, jpg or jpeg files. Then, select the image for the shape and press OK. Initially, an image is put into a square shape. You can then resize it and move it. If you want the shape to show the image with its original aspect ratio, select the shape and press the Lock aspect ratio button in the Properties pane. Use the small image button from there to change the image of the shape.
You can type a text on top of the image. Just double click the image shape and start typing.
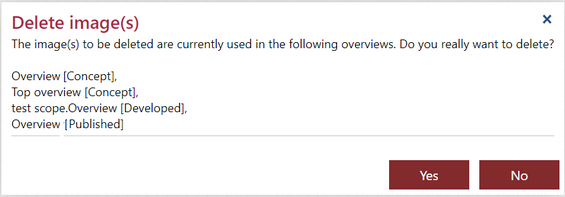
You can also remove an image from this list. Select an image and press the Remove button. If the selected image is still used in the overviews you will get the following warning:
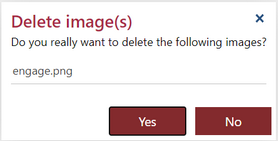
Since the same overview can be developed in the Engage Process Modeler, can be submitted or prepared for publication as a concept in the Under review pane or can be already shared or published then there is a label in brackets added at the end of the overview name indicating where to look for the overview. The overviews developed in Engage Process Modeler are prefixed with a name of the embedding project. If the image is not used you will still get a confirmation question:
|